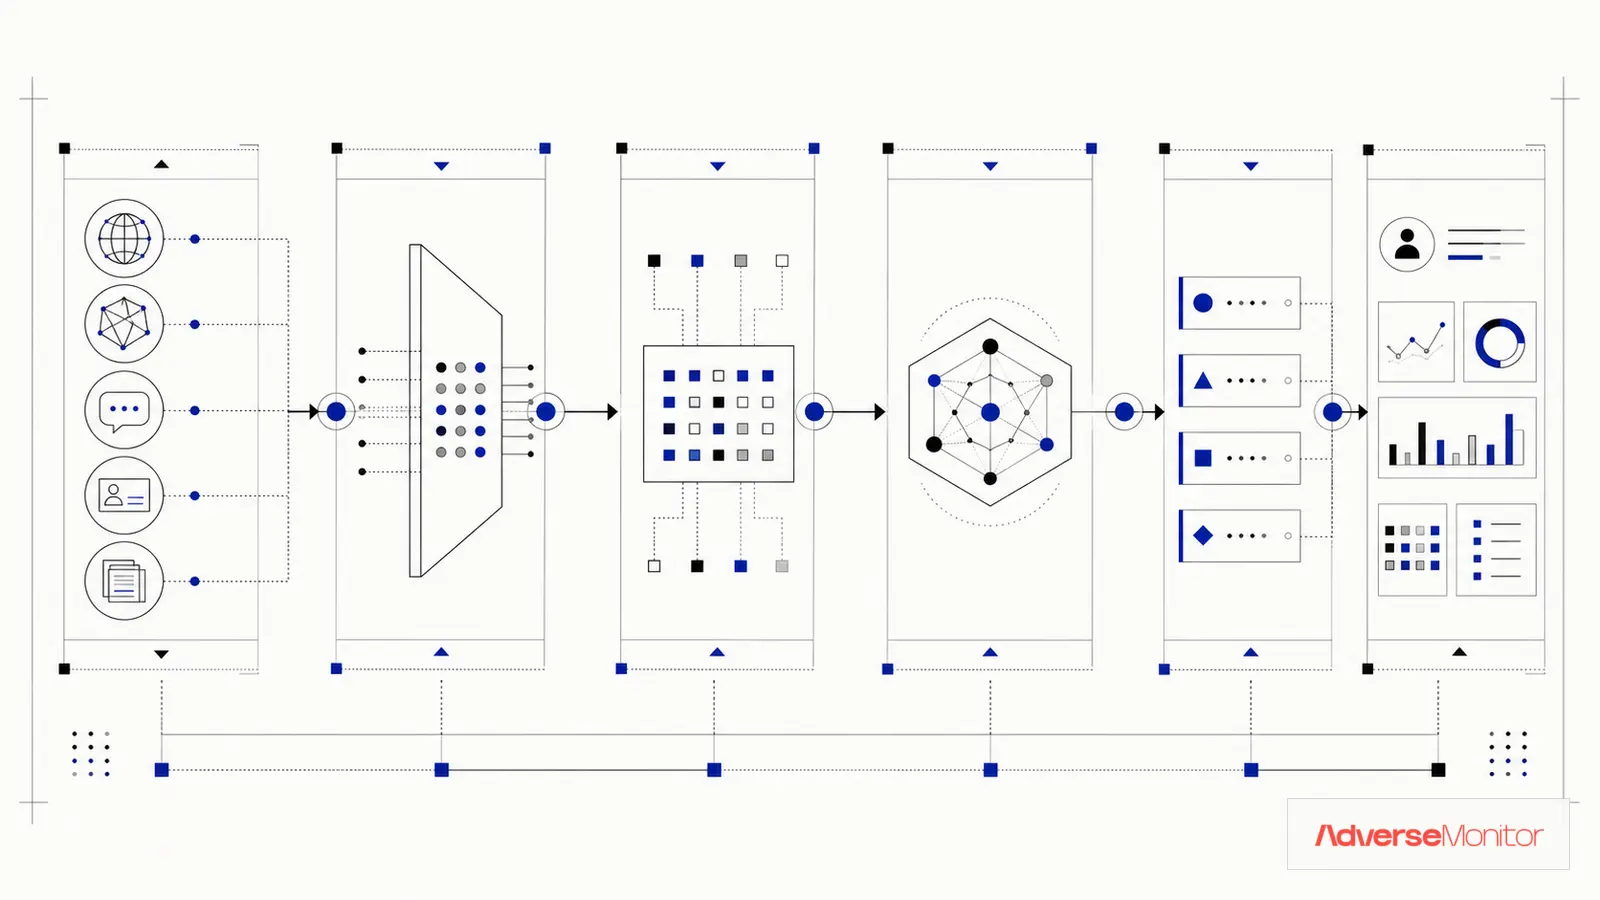
A dark web monitoring API returns source records. Turning those records into an alert your team acts on is integration work: polling, filtering, routing, and a response step with a human check. This tutorial builds that pipeline against the documented AdverseMonitor API v1 routes.
The examples poll GET /threats with the since and cursor parameters, filter the returned records by the domains and risk levels you care about, post matches to Slack, and open a ticket with the source evidence attached. Field names and limits below come from the API reference; check that page when a detail matters, because it is updated with the application.
Prerequisites
- Python 3.9 or newer, or Node.js 18 or newer (the JavaScript example uses the built-in
fetch) - An AdverseMonitor API key from the signed-in API Access page. Keys look like
am_live_...and go in theAuthorizationheader only, never in a query string or browser code. - A Protection or Defend plan for Step 3 onward. Trial keys work for the connection test and, with
ADVERSEMONITOR_PAGE_SIZEset to 50, the poller, but they return placeholder text instead of victim domains, organizations, industries, and AI analysis, so the domain filter matches nothing. - Basic familiarity with REST calls and JSON
- Optional: a Slack incoming webhook URL, Jira Cloud credentials, and an Okta API token for the response steps
Step 1: API Authentication
Every documented data route requires a bearer token. Load the key from an environment variable rather than hardcoding it. There is no dedicated status route, so the connection test asks for one record and reads the rate-limit headers the API returns with every response.
import os
import requests

# Create a key on the signed-in API Access page and export it before running.
API_KEY = os.environ['ADVERSEMONITOR_API_KEY']
API_BASE = 'https://platform.adversemonitor.com/api/v1'

def get_headers():
    return {
        'Authorization': f'Bearer {API_KEY}',
        'Accept': 'application/json',
    }

def test_connection():
    # A one-record list call confirms the key, the plan, and the limits.
    response = requests.get(
        f'{API_BASE}/threats',
        headers=get_headers(),
        params={'limit': 1},
        timeout=10,
    )
    if response.status_code == 401:
        raise RuntimeError('API key missing, invalid, or expired')
    if response.status_code == 403:
        raise RuntimeError(response.json().get('error', 'Plan restriction'))
    response.raise_for_status()

    print('Requests left this minute:', response.headers.get('X-RateLimit-Remaining'))
return True// Node.js 18 or newer ships fetch, so no HTTP client dependency is needed.
const API_KEY = process.env.ADVERSEMONITOR_API_KEY;
const API_BASE = 'https://platform.adversemonitor.com/api/v1';
async function apiGet(path, params = {}) {
const url = new URL(`${API_BASE}${path}`);
for (const [key, value] of Object.entries(params)) {
if (value !== undefined && value !== null) url.searchParams.set(key, value);
}
const response = await fetch(url, {
headers: { Authorization: `Bearer ${API_KEY}`, Accept: 'application/json' },
});
if (!response.ok) {
const body = await response.json().catch(() => ({}));
throw new Error(`${response.status}: ${body.error || 'request failed'}`);
}
return response.json();
}
async function testConnection() {
const result = await apiGet('/threats', { limit: 1 });
return Array.isArray(result.data);
}Step 2: Building the Poller
The poller fetches records published since the last run. GET /threats returns newest records first in a data array, with an opaque meta.cursor when more pages remain. The since parameter is an ISO date-time lower bound with at most millisecond precision; Python's default isoformat() emits microseconds, which the route rejects. limit defaults to 50 with a documented maximum of 100 (50 for trial keys); the API does not clamp, so a value above the cap for your key returns 400. The same route also accepts exact category and case-insensitive country filters if you want the API to narrow the feed before your code sees it.
import json
import time
from datetime import datetime, timedelta, timezone
from pathlib import Path

STATE_FILE = Path('poll_state.json')
# Documented maximum is 100. A trial key must send 50 or lower; a larger value returns 400.
PAGE_SIZE = int(os.environ.get('ADVERSEMONITOR_PAGE_SIZE', '100'))

def load_state():
    if STATE_FILE.exists():
        return json.loads(STATE_FILE.read_text())
    # First run: look back one hour
    start = datetime.now(timezone.utc) - timedelta(hours=1)
    # since accepts at most millisecond precision, so trim the microseconds
    return {'since': start.isoformat(timespec='seconds'), 'seen_ids': []}

def save_state(state):
    STATE_FILE.write_text(json.dumps(state))

def fetch_page(params):
    response = requests.get(
        f'{API_BASE}/threats',
        headers=get_headers(),
        params=params,
        timeout=10,
    )
    if response.status_code == 429:
        # Documented shape: {"error": "Rate limit exceeded", "retry_after": 42}
        wait = int(response.json().get('retry_after', 60))
        time.sleep(wait)
        return fetch_page(params)
    response.raise_for_status()
    return response.json()

def fetch_new_records():
    state = load_state()
    records = []
    params = {'since': state['since'], 'limit': PAGE_SIZE}

    while True:
        page = fetch_page(params)
        records.extend(page['data'])
        cursor = page['meta'].get('cursor')
        if not cursor:
            break
        params['cursor'] = cursor  # opaque; pass it back unchanged

    # since is an inclusive lower bound, so drop records handled last run
    seen = set(state['seen_ids'])
    fresh = [r for r in records if r['id'] not in seen]

    if fresh:
        newest = max(r['published_at'] for r in fresh)
        save_state({
            'since': newest,
            'seen_ids': [r['id'] for r in fresh if r['published_at'] == newest],
        })

    return fresh
Store the state file somewhere durable. If a run fails after the state is saved, the next run starts from the saved since value and the records in between are not fetched again, so save state only after the records have been handed off.
Step 3: Filtering Relevant Records
Not every record needs action. Each record carries a victims object with domains, organizations, industries, and countries arrays, plus a risk_level string. Filter on the domains you own and a minimum risk level. The stored values are CRITICAL, HIGH, MEDIUM, and LOW, with UNKNOWN when analysis was not produced for a record, so compare the value case-insensitively. Treat a missing or unknown risk level as the lowest priority rather than dropping the record silently.
# Configuration
MONITORED_DOMAINS = {'company.com', 'company.co.uk'}
MIN_RISK = 'medium'  # low, medium, high, critical

RISK_LEVELS = {
    'low': 1,
    'medium': 2,
    'high': 3,
    'critical': 4,
}

def domain_matches(domain):
    domain = domain.lower().strip()
    return any(domain == d or domain.endswith('.' + d) for d in MONITORED_DOMAINS)

def is_relevant(record):
    victims = record.get('victims') or {}
    domains = victims.get('domains') or []
    if not any(domain_matches(d) for d in domains):
        return False

    # risk_level can be missing or UNKNOWN; rank that below "low"
    level = (record.get('risk_level') or 'low').lower()
    return RISK_LEVELS.get(level, 0) >= RISK_LEVELS[MIN_RISK]

def filter_records(records):
    return [r for r in records if is_relevant(r)]
The suffix check means mail.company.com matches company.com. If your organization is better known by name than by domain, add a second check against victims.organizations. Keep the filter strict at first and widen it after the team has reviewed a few weeks of matches.
Step 4: Sending Notifications
When a record passes the filter, post it to the channel your response workflow already watches. The message uses only fields the list route returns: id, title, category, risk_level, published_at, summary, threat_actors, and the victims arrays.
SLACK_WEBHOOK = os.environ.get('SLACK_WEBHOOK_URL')

def send_slack_alert(record):
    victims = record.get('victims') or {}
    level = (record.get('risk_level') or 'unknown').upper()
    domains = ', '.join(victims.get('domains') or []) or 'none'
    actors = ', '.join(record.get('threat_actors') or []) or 'none'

    message = {
        'blocks': [
            {
                'type': 'header',
                'text': {
                    'type': 'plain_text',
                    'text': f'[{level}] {record["category"]}: {record["title"]}'[:150]
                }
            },
            {
                'type': 'section',
                'fields': [
                    {'type': 'mrkdwn', 'text': f'*Record ID:* {record["id"]}'},
                    {'type': 'mrkdwn', 'text': f'*Published:* {record["published_at"]}'},
                    {'type': 'mrkdwn', 'text': f'*Domains named:* {domains}'},
                    {'type': 'mrkdwn', 'text': f'*Actors:* {actors}'}
                ]
            },
            {
                'type': 'section',
                'text': {
                    'type': 'mrkdwn',
                    'text': record.get('summary') or 'No summary in the source record'
                }
            },
            {
                'type': 'context',
                'elements': [
                    {'type': 'mrkdwn', 'text': 'A source match is an investigation lead, not proof of compromise.'}
                ]
            }
        ]
    }

    requests.post(SLACK_WEBHOOK, json=message, timeout=10).raise_for_status()
Step 5: Automated Response
Automation should get the evidence in front of the right person, with the containment action one confirmed step away. The list route gives you enough for an alert. For a ticket, call GET /threats/{id}, which adds content, source_url, and an ai_analysis object with context, risk_assessment, relevance, and recommendations. A record outside your plan's data window returns 403 on that route, so handle that case rather than failing the whole run.
JIRA_BASE = os.environ.get('JIRA_BASE_URL')  # https://your-team.atlassian.net
JIRA_AUTH = (os.environ.get('JIRA_EMAIL'), os.environ.get('JIRA_API_TOKEN'))

def fetch_detail(record_id):
    response = requests.get(
        f'{API_BASE}/threats/{record_id}',
        headers=get_headers(),
        timeout=10,
    )
    if response.status_code == 403:
        return None  # outside the subscription data window
    response.raise_for_status()
    return response.json()['data']

def open_ticket(record):
    detail = fetch_detail(record['id']) or record
    victims = detail.get('victims') or {}
    analysis = detail.get('ai_analysis') or {}
    recommendations = analysis.get('recommendations') if isinstance(analysis, dict) else None

    description = '\n'.join([
        f'Source: {detail.get("source_url") or "not available on this plan"}',
        f'Category: {detail["category"]}',
        f'Risk level: {detail.get("risk_level") or "unknown"}',
        f'Domains named: {", ".join(victims.get("domains") or []) or "none"}',
        f'Actors: {", ".join(detail.get("threat_actors") or []) or "none"}',
        '',
        detail.get('summary') or '',
        '',
        f'Recommendations: {recommendations or "none provided"}',
        '',
        'Review the source before treating this as confirmed exposure.',
    ])

    payload = {
        'fields': {
            'project': {'key': 'SEC'},
            'issuetype': {'name': 'Task'},
            'summary': f'Dark web record {record["id"]}: {record["title"]}'[:255],
            'description': description,
            'labels': ['dark-web', (record.get('risk_level') or 'unknown').lower()],
        }
    }
    response = requests.post(
        f'{JIRA_BASE}/rest/api/2/issue',
        auth=JIRA_AUTH,
        json=payload,
        timeout=10,
    )
    response.raise_for_status()
    return response.json()['key']
The API record names domains and organizations. It does not return a list of exposed user accounts, so a password reset cannot be driven from the record alone. The containment function below takes the accounts your analyst confirms on the ticket after reading the source, and it only runs for credential-related categories at high or critical risk.
OKTA_DOMAIN = os.environ.get('OKTA_DOMAIN')
OKTA_TOKEN = os.environ.get('OKTA_API_TOKEN')

# Category values as returned by the API. Adjust to the ones you see in your feed.
CREDENTIAL_CATEGORIES = {'Data Breach', 'Data Leak', 'Combo List'}

def expire_password(email):
    headers = {'Authorization': f'SSWS {OKTA_TOKEN}'}
    users = requests.get(
        f'https://{OKTA_DOMAIN}/api/v1/users',
        params={'search': f'profile.email eq "{email}"'},
        headers=headers,
        timeout=10,
    ).json()
    if not users:
        return False

    requests.post(
        f'https://{OKTA_DOMAIN}/api/v1/users/{users[0]["id"]}/lifecycle/expire_password',
        headers=headers,
        timeout=10,
    ).raise_for_status()
    return True

def contain_credential_exposure(record, confirmed_accounts):
    # confirmed_accounts comes from the analyst's review of the source,
    # for example the list attached to the ticket opened in open_ticket().
    if record['category'] not in CREDENTIAL_CATEGORIES:
        return []
    if (record.get('risk_level') or '').lower() not in {'high', 'critical'}:
        return []

    reset = []
    for email in confirmed_accounts:
        if domain_matches(email.split('@')[-1]) and expire_password(email):
            reset.append(email)
            print(f'Password expired for: {email}')
    return reset
Step 6: Complete Pipeline
The scheduled run ties the steps together. The interval matters because requests count against the documented plan limits: Protection keys allow 10 requests a minute and 1,000 a day, and a run can use several requests when it pages through results. Every 15 minutes gives 96 runs a day, which leaves room for pagination and retries.
import schedule

def run_pipeline():
    started = datetime.now(timezone.utc).isoformat(timespec='seconds')
    print(f'[{started}] Polling for new records')

    # 1. Fetch records published since the last run
    records = fetch_new_records()
    print(f'  {len(records)} new records')

    # 2. Keep the ones that name a monitored domain at or above MIN_RISK
    relevant = filter_records(records)
    print(f'  {len(relevant)} match the domain and risk filters')

    # 3. Alert and open a ticket for each match
    for record in relevant:
        send_slack_alert(record)
        ticket = open_ticket(record)
        print(f'  Opened {ticket} for record {record["id"]}')

    print('  Run complete')

# 96 runs a day stays well inside the documented Protection daily limit
schedule.every(15).minutes.do(run_pipeline)

# Initial run
run_pipeline()

# Keep running
while True:
    schedule.run_pending()
    time.sleep(1)
Splitting the Poller from the Responder
The API reference documents read routes: list, detail, search, threat actors, and country statistics. It does not document push delivery, so build on polling and do not plan around a provider webhook. If you want the poller and the response logic in separate services, forward each record over HTTPS inside your own network and sign it. The receiver below verifies an HMAC before it acts on anything, which stops a stray request from opening tickets.
from flask import Flask, request, jsonify
import hmac
import hashlib

app = Flask(__name__)
FORWARD_SECRET = os.environ['FORWARD_SECRET'].encode()

def sign(body):
    return hmac.new(FORWARD_SECRET, body, hashlib.sha256).hexdigest()

def verify_signature(body, signature):
    return hmac.compare_digest(signature or '', sign(body))

@app.route('/internal/records', methods=['POST'])
def receive_record():
    if not verify_signature(request.data, request.headers.get('X-Signature')):
        return jsonify({'error': 'Invalid signature'}), 401

    record = request.get_json()
    if is_relevant(record):
        send_slack_alert(record)
        open_ticket(record)

    return jsonify({'status': 'processed'}), 200

# Poller side: replace the loop body in run_pipeline() with this call
def forward_record(record, receiver_url):
    body = json.dumps(record).encode()
    requests.post(
        receiver_url,
        data=body,
        headers={'Content-Type': 'application/json', 'X-Signature': sign(body)},
        timeout=10,
    ).raise_for_status()

if __name__ == '__main__':
    app.run(port=5000)
Start With a Domain Check
Check a domain against the current index first, review the returned records, and evaluate API access only when it fits a verified workflow.
Check a DomainNext Steps
- Add SIEM integration: Send records to Splunk, Sentinel, or Elastic using the SIEM integration guide
- Use the search route:
GET /threats/search?q=company.comchecks the available data window for a domain on demand, outside the polling loop - Build dashboards: Store records in a database keyed by
idfor trend analysis and deduplication - Add enrichment: Cross-reference named domains and actors with VirusTotal or Shodan
- Deploy to cloud: Run the poller on AWS Lambda, Azure Functions, or Cloud Run with the state file in durable storage
Conclusion
The code above is an integration pattern, not a drop-in production service. Adapt the key handling, filters, error handling, and response controls to your environment, and check the API reference whenever a field name, limit, or status code matters.
A record that names your domain is an investigation lead. Automation gets that lead in front of the right person with the source attached, which beats waiting for someone to notice a dashboard change.